Build a CapCut clone with AI: timeline, playback and real export
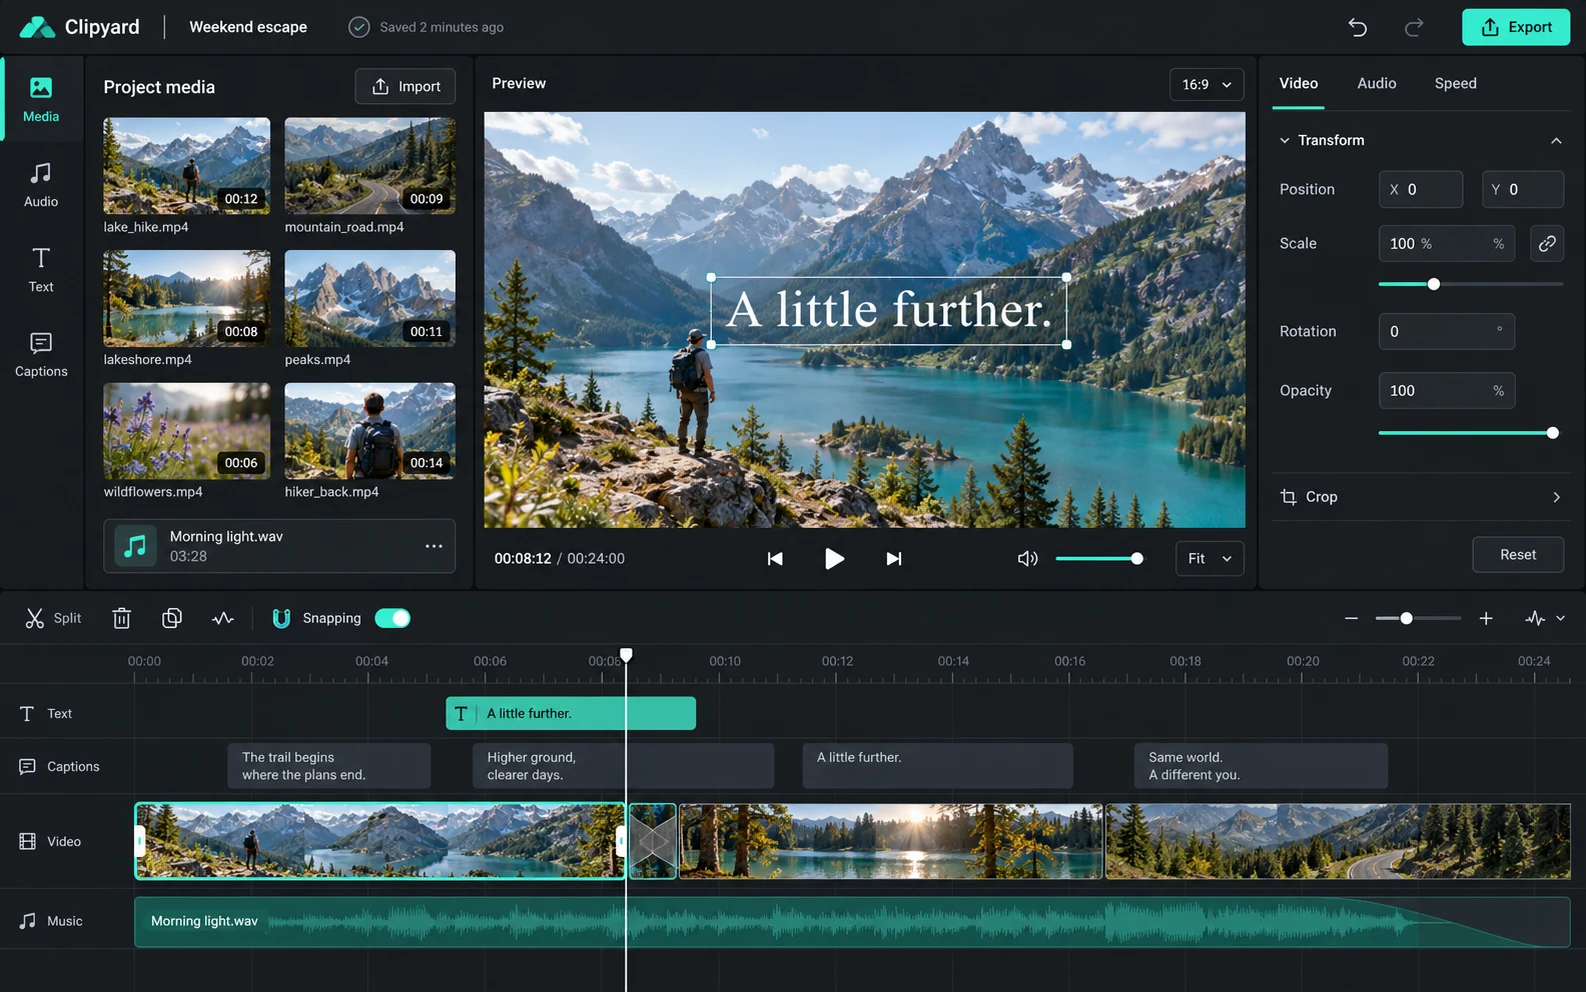
A useful CapCut-inspired editor needs to turn edit decisions into a playable file. Start with two clips, one title and a short audio track. This guide explains the desktop architecture behind that outcome and how to extend the free build brief.
By Clone4.me · AI-assisted editorial ·
A practical starting point
The starting brief uses a TypeScript interface, Tauri/Rust orchestration and a documented media engine such as FFmpeg. Keep the timeline model separate from the screen, save source references, and make preview and export agree before adding effects.
Define the first export before drawing the editor
For the first version, choose one landscape or vertical output size, a fixed frame rate and a documented set of supported inputs. Specify the exact journey: import two permitted clips, trim them, place them consecutively, add a title, adjust audio volume, save the project and export a file. Treat that as the product contract.
A realistic short-form editor can be valuable without a template marketplace, licensed music, automatic captions or AI effects. Decide whether your audience needs repeatable branded clips, simple lesson videos or personal editing. That choice should determine the first controls and export preset.
- Keep source files unchanged. A trim changes the project’s in/out points.
- Show unsupported media and missing-file errors clearly.
- Do not label a preview recording or downloaded placeholder as a finished render.
Use one project model for preview and render
Represent assets, tracks and clips explicitly. A clip needs its source, timeline start, source in/out points, transform and volume. Store times as integer ticks or frames under a documented time base, rather than accumulating rounded display seconds. A text overlay has its own timeline interval.
Saving a project should preserve those decisions and references to the original media. Reopening should detect moved files and offer relinking. A render job should consume an immutable snapshot so later edits cannot silently change an export already in progress.
| Concern | Useful first implementation |
|---|---|
| Interface | TypeScript timeline, inspector and transport controls |
| Orchestration | Rust/Tauri commands with bounded jobs and cancellation |
| Media processing | Documented FFmpeg filter/encoder pipeline |
| Persistence | Versioned project metadata and referenced media files |
Make an explicit preview and export contract
FFmpeg documents trimming, timestamp handling, overlays and audio mixing. Choose a small subset and build a reproducible render pipeline around it; an AI agent should show the actual command or engine configuration it uses. Verify dependency licensing and the chosen encoder for your distribution.
The preview can use lower-resolution proxies, but it still needs to reflect clip boundaries, titles and audio offsets. Begin with straightforward cuts. Add transitions only when their duration and overlap rules have a shared representation in preview and export. Keep the original files separate from disposable proxies.
References: FFmpeg filter documentation
Test the output file, including failures
Create a fixture with a visible cut and an audible marker near the same point. Export it, open it in an independent player and compare duration, dimensions, title placement and audio synchronization. Reopen the saved project and export again. These checks reveal much more than a polished timeline screenshot.
Cancel an export and confirm that the worker stops and partial output is handled. Repeat with a missing source, unreadable file and unwritable output location. A job can fail without damaging the project. Record tested operating systems and media formats instead of claiming universal codec support.
- Seek to the beginning, cut point and end of the rendered file.
- Confirm exactly one active render job, or a deliberately bounded queue.
- Keep stderr/error details useful without exposing private file contents.
Customize the CapCut brief for your workflow
Open the CapCut prompt and change Product & audience, Features, and Data & behavior together if you narrow the editor. Design changes alone will not remove unsupported operations from its data model. For a browser edition, explicitly replace the desktop stack and define a narrower media contract.
For source-based multitrack editing, read the Premiere Pro brief; for keyframed motion, compare After Effects. Those are different project models. Choose one starting workflow before combining them. The following extension belongs after the complete brief, not in place of it.
First milestone: import two clips, trim and join them at 30 fps, add one title and an audio fade, save/reopen, then export a real playable file. Show the render configuration and compare preview with output. Exclude AI effects, licensed music and cloud sharing.
Turn the plan into a complete brief.
Copy a tool’s full prompt, customize its sections, and keep the verification requirements with your project.