Build your own Photoshop alternative: layers, undo and export
A Photoshop-style build becomes manageable when you choose a small raster-editing workflow. Start with two image layers, a brush, a selection and a reliable project file. The core challenge is keeping pixels, history and exported output consistent.
By Clone4.me · AI-assisted editorial ·
A practical starting point
The baseline brief proposes a native Rust editor with a separate raster engine, an sRGB working space and bounded command history. It does not promise PSD compatibility, generative fill or professional prepress. A different existing stack can work if its tradeoffs are explicit.
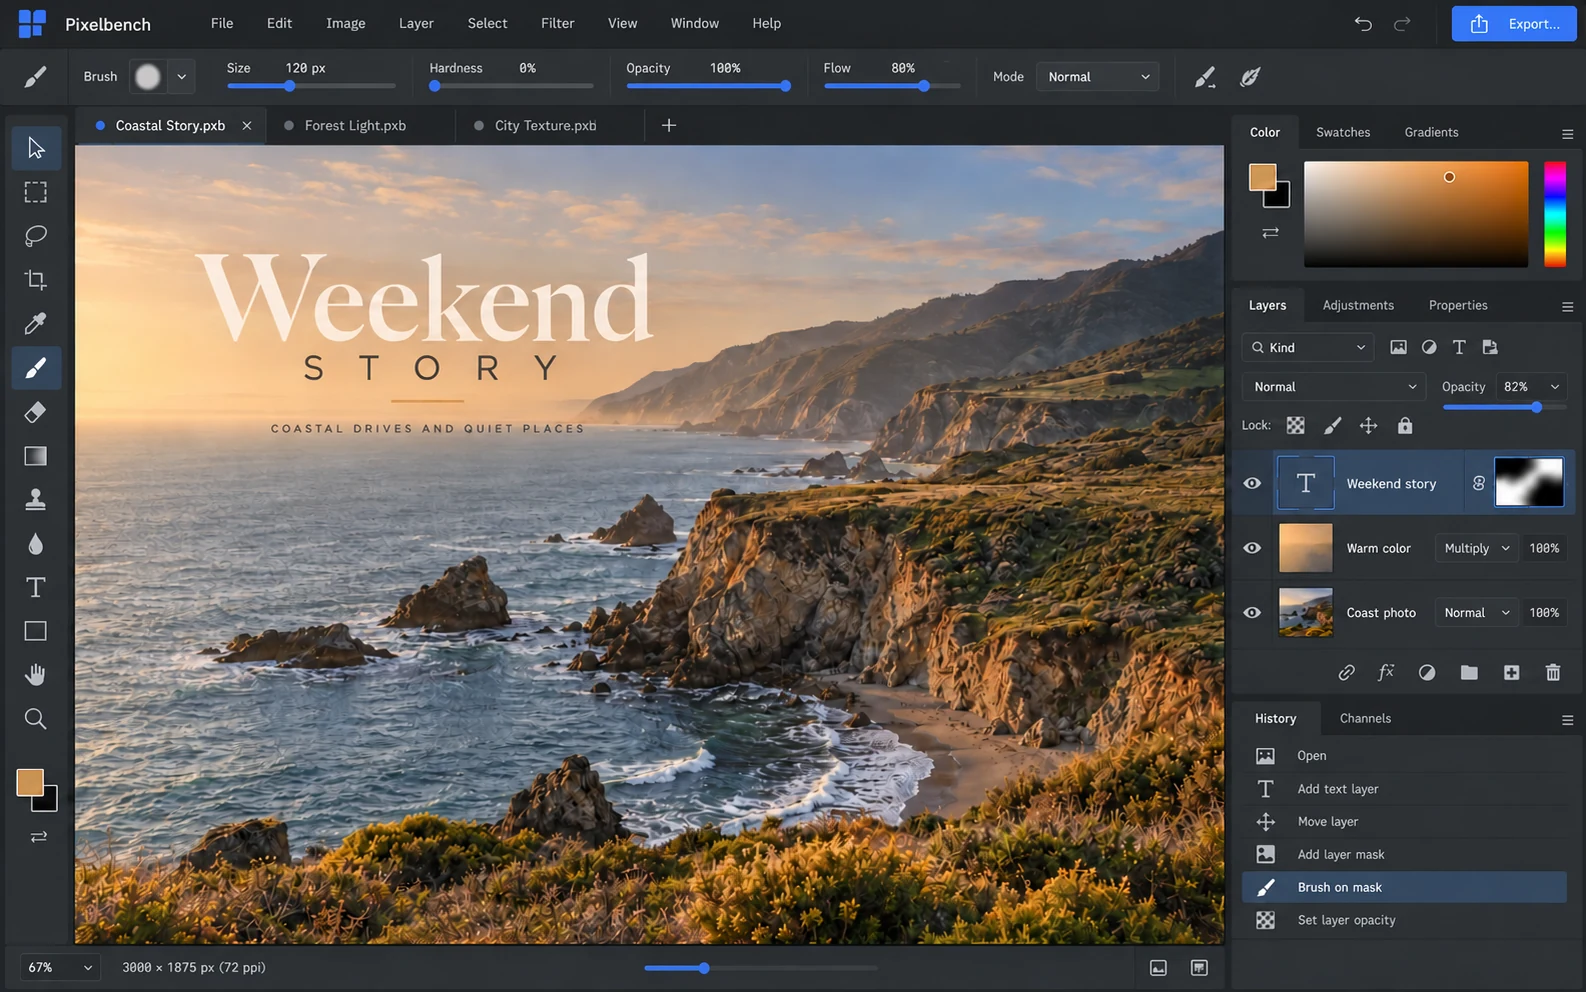
Pick raster editing rather than a whole creative suite
A useful first outcome is composing an original social image: import a background, add a second image layer, paint inside a selection, adjust opacity, save and export a transparent PNG. This is enough to exercise the difficult parts without inventing a hundred filter controls.
Keep the project’s identity and assets original. Native PSD interchange, advanced RAW processing, plugins, cloud collaboration and generative image features are separate projects. If the main need is poster templates, Canva may be a better starting reference; if it is editable paths, choose Illustrator.
Make the document independent from the viewport
A document has pixel dimensions, a color space and an ordered layer stack. The viewport has zoom, pan and selection handles. Moving the viewport must not move pixels in the saved image. Convert pointer coordinates through the same transform for painting, selections and handles.
Each layer needs visibility, lock state, opacity, a transform and its content reference. Define alpha handling and a small set of blend operations deliberately. Qt’s QImage documentation illustrates the pixel, alpha and transformation concerns that an image engine must address, even if your chosen implementation uses Rust libraries instead.
References: Qt QImage: image representation and alpha
Treat a brush stroke as an undoable action
Undo should reverse a meaningful operation, such as one brush stroke or a completed transform, rather than thousands of individual pointer events. Store enough information to restore the previous result and set a history memory budget. A large image should not crash the app because every mouse movement copied the entire document.
Use a command-based model for operations and track which state was last saved. Qt’s undo framework is a useful reference for the pattern, not a requirement to switch the baseline stack. Test undo/redo after cropping, painting, renaming and moving a layer, including after a save.
References: Qt command-based undo framework
Save editable projects and export flattened images
The project format should retain layers, assets and editable parameters. PNG export should render the current composition at the document’s pixel size, independent of screen zoom. These are different outputs. A flattened PNG cannot be reopened with the original editable layer structure unless that structure was saved separately.
Version the project format and validate files before replacing the open document. Keep original imported assets when practical, distinguish destructive edits from adjustment parameters and define missing-asset behavior. Do not claim support for another editor’s proprietary format merely because its file picker accepts the extension.
| Output | What to verify |
|---|---|
| Project file | Layer order, opacity, masks and editable state survive reopen |
| PNG | Exact dimensions, transparency and expected visible composition |
| History | Undo/redo restores pixels and document properties together |
Test pixels at the edges
Use semitransparent shapes over a contrasting background. Export, inspect their edges and compare with the editor at multiple zoom levels. Test painting across a selection boundary, undoing a crop and reopening a project after several edits. Check dimensions in the exported file, not only the save dialog.
For a photo catalog and non-destructive photo workflow, compare Lightroom. For vectors or interface frames, use Illustrator or Figma. Keep the first editor focused on one document model; a small accurate tool is a stronger starting point than a large menu of unverified operations.
First milestone: two raster layers, selection-limited brush, opacity, crop, command-based undo and a versioned project file. Render a correct PNG with exact dimensions and alpha. Test semitransparent edges, reopen and bounded memory use. Exclude PSD interchange, plugins and generative features.
Turn the plan into a complete brief.
Copy a tool’s full prompt, customize its sections, and keep the verification requirements with your project.